


How to Make Bakery-Style Fresh White Rolls in a Bread Maker
Want some simple breadmaker rolls that you can whip up in time for lunch?

There’s nothing quite like the smell of fresh bread wafting through your kitchen, and these Bakery Style Fresh White Rolls bring that right into your home. Soft on the inside with a perfectly golden crust, these rolls are easy to make and perfect for sandwiches, soups, or just slathering with butter while still warm. Using a bread maker makes the process even more effortless, eliminating the need for hand kneading and ensuring a consistent rise every time.
Why You’ll Love These Rolls
✅ Simple Ingredients – Uses pantry staples you likely already have at home.
✅ Soft & Fluffy Texture – The perfect balance of chewiness and airiness.
✅ Versatile – Great for meals, snacks, or simply enjoyed warm with butter.
✅ Hands-Free Kneading – The bread maker does the heavy lifting, so you don’t have to.
✅ Beginner-Friendly – Perfect for those new to bread making.
✅ Freezer-Friendly – Make ahead and enjoy anytime!
Ingredients:
300g strong white bread flour – Provides structure and the perfect chewiness.
200ml room temp water – Helps activate the yeast and ensures the dough comes together properly.
1 tsp salt – Enhances the flavour of the rolls.
1 tbsp olive oil – Adds moisture and contributes to a soft texture.
1 tbsp honey (or sugar for a vegan-friendly swap) – Feeds the yeast and gives a subtle hint of sweetness.
1 tsp dried yeast – Essential for a good rise and a light, airy texture.
Step-by-Step Instructions Using a Bread Maker:
1. Add Ingredients to the Bread Maker
To ensure the best results, always add the ingredients to the bread pan in the correct order. This helps the yeast activate properly and prevents any issues with the dough formation.
Pour the room temp water into the bread pan first.
Add the olive oil and honey next.
Gently spoon in the bread flour, ensuring it covers the liquid.
Add the salt to one corner of the pan (keeping it away from the yeast).
Create a small well in the centre of the flour and add the yeast.
2. Select the Dough Setting
Close the lid and select the Dough Setting on your bread maker. This cycle will knead the dough and allow it to rise automatically. The time required varies by machine, but it typically takes around 1.5 hours. During this time, the machine will mix, knead, and proof the dough, making the process completely hands-free.
3. Shape the Rolls
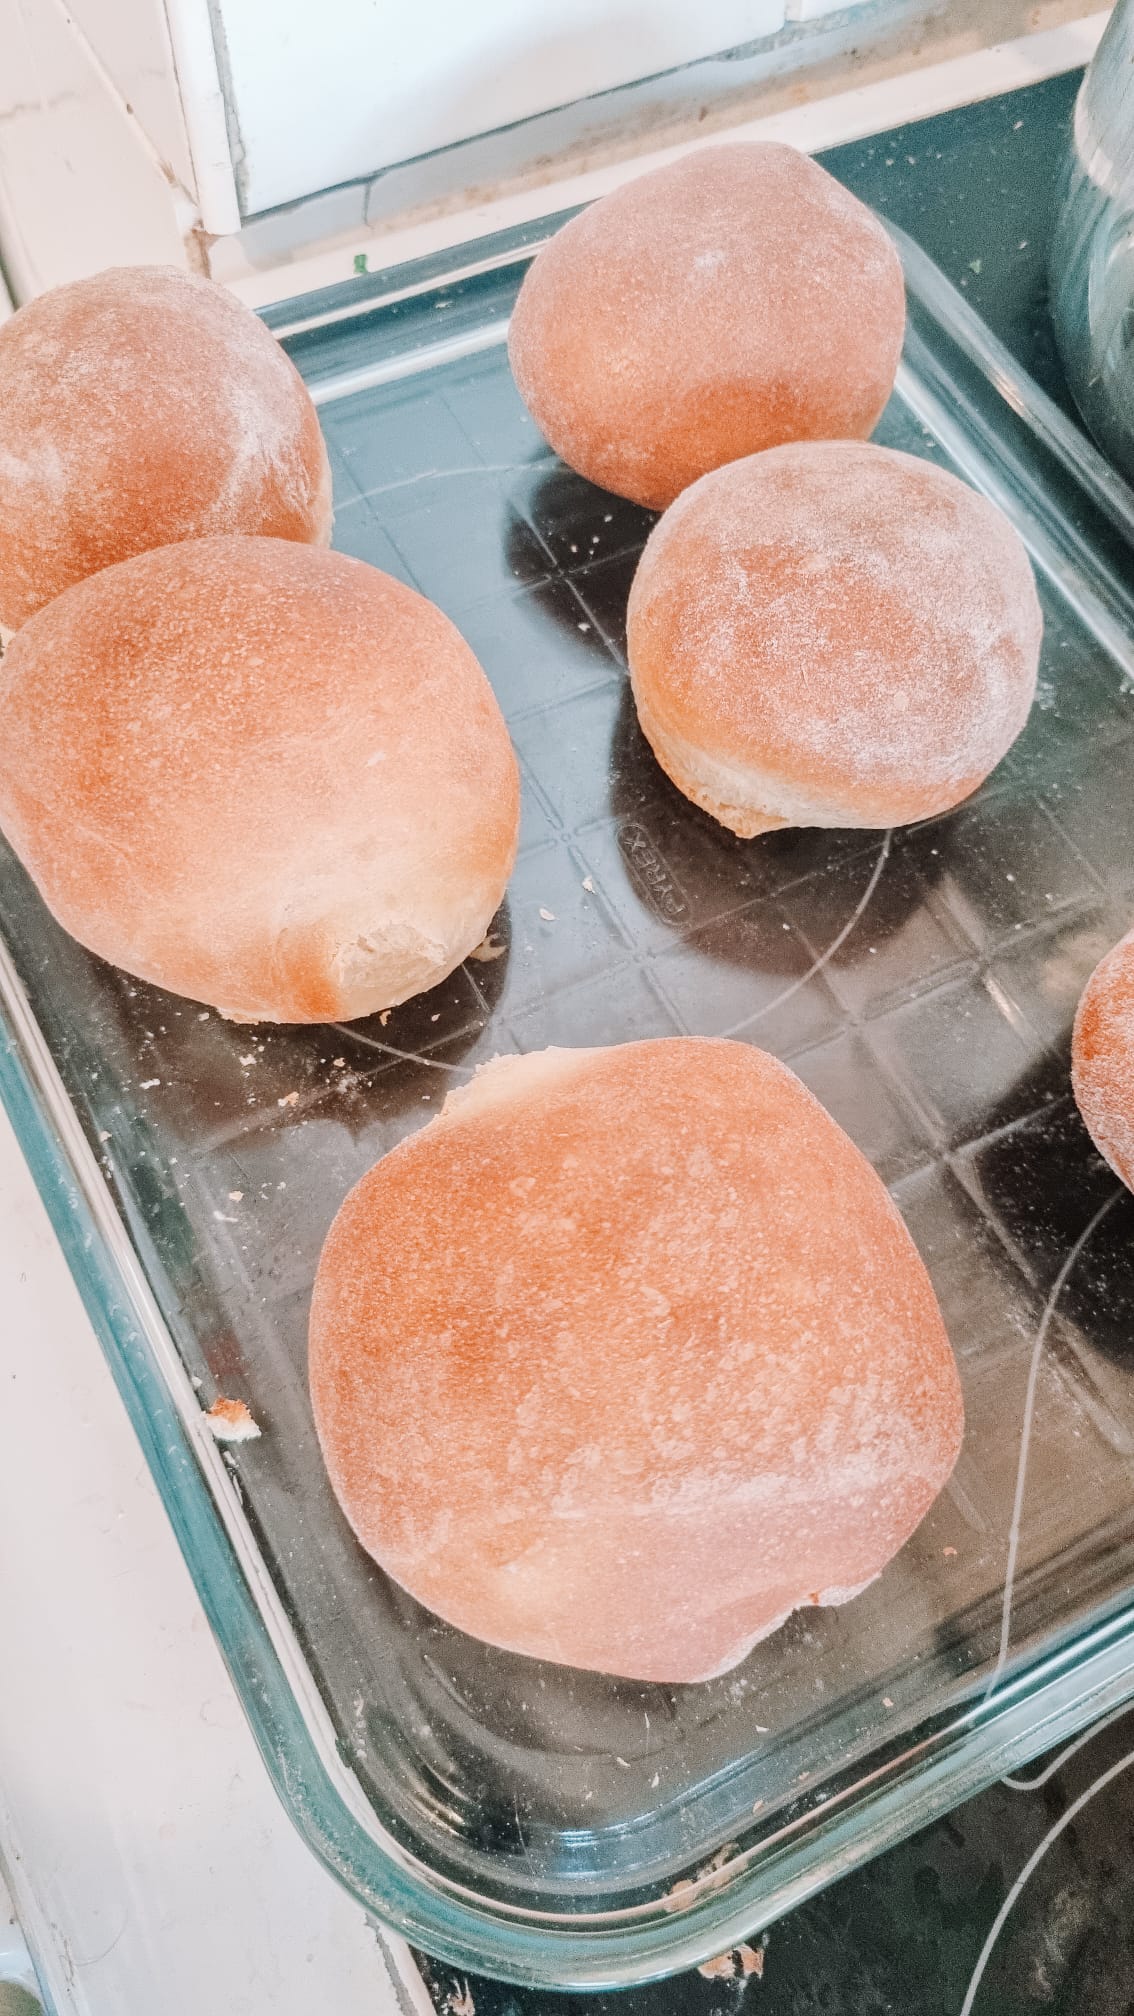
Once the dough cycle is complete, carefully remove the dough from the bread pan onto a lightly floured surface. The dough should feel soft and elastic. Using a knife or dough scraper, divide it into 8 equal portions. To shape each roll, tuck the edges under and gently roll it into a smooth ball. Place the shaped rolls onto a parchment-lined baking tray, leaving space between them for expansion.
4. Second Rise
Cover the shaped rolls with a clean tea towel and let them rise again for 30-40 minutes. This allows the dough to become light and fluffy before baking. The rolls should double in size, so be patient and allow them to proof properly for the best texture.
5. Bake
Preheat your oven to 200°C (400°F) about 10 minutes before baking. Once the rolls have risen, place them in the oven and bake for 12-15 minutes, or until they are golden brown and sound hollow when tapped on the bottom. If you prefer a glossy crust, brush them with a little olive oil or melted butter immediately after taking them out of the oven.
6. Cool & Enjoy
Let the rolls cool slightly on a wire rack before serving. They are best enjoyed fresh but can be stored in an airtight container for up to 3 days. If you want to keep them for longer, freeze them in an airtight bag, then reheat in the oven when ready to enjoy.
Tips for the Best Rolls:
Use warm or room temperature water (not hot) to properly activate the yeast without killing it.
Let the bread maker do the hard work – It ensures an evenly kneaded and proofed dough.
Be patient with rising – A full rise makes all the difference for soft, fluffy rolls.
Want a crispier crust? Place a tray of hot water in the oven while baking to create steam.
For extra flavour, sprinkle some sesame or poppy seeds on top before baking.
Double the batch and freeze half to always have fresh rolls on hand.
Serving Suggestions
These rolls are incredibly versatile and pair well with almost anything! Here are a few ideas:
Breakfast: Serve warm with butter and homemade jam.
Lunch: Use them as sandwich rolls with cheese, meats, or veggies.
Dinner: Perfect as a side for soups, stews, or pasta dishes.
Snack: Enjoy with a drizzle of honey or a dollop of cream cheese.
Final Thoughts
These Bakery-Style Fresh White Rolls are an easy way to bring the charm of a bakery into your home with minimal effort. Whether you’re pairing them with a hearty meal or enjoying them as a simple snack, their soft and pillowy texture makes them absolutely irresistible. Using a bread maker takes the guesswork out of the process, making this a foolproof recipe for both beginners and seasoned bakers alike.
I’d love to hear how these rolls turn out for you! Do you have any favourite ways to customise them? Let me know in the comments or tag me if you share your fresh-baked rolls online! Happy baking! 🍞✨