


Homemade Wholemeal Bread Rolls
A simple breadmaker recipe to help you through the week

There’s something about the smell of fresh bread baking in the oven. Maybe it’s the way it fills your kitchen with comfort or how it turns an ordinary day into something a little more special. If you’ve ever wanted to make your own bread but felt intimidated by the idea, I have good news, this recipe is as easy as it gets! And the best part? We’re making soft, wholesome wholemeal rolls that are perfect for everything from sandwiches to dunking in a cosy bowl of soup.
The Beauty of Baking Slow
I know what you’re thinking: “But Amy, I don’t have time to bake bread from scratch!” Trust me, I get it. Life is busy, and sometimes it feels easier to grab a loaf off the supermarket shelf. But hear me out: there’s something truly special about slowing down and making something with your own two hands. It’s a process that connects us to the past, to tradition, and to a way of living that honours slowness and intention. Plus, this recipe does most of the work for you. Your bread maker will handle the kneading, and you’ll just shape, bake, and enjoy. Sound good? Let’s do this.
The Ingredients You’ll Need
300g wholemeal flour (because whole grains = wholesome goodness)
200ml warm water
1 tsp salt
1 tbsp olive oil
1 tbsp honey (or sugar for a vegan-friendly swap)
1 tsp dried yeast
Step-by-Step Guide to Baking Magic
Let the Bread Maker Do the Heavy Lifting
Add all the ingredients into your bread machine in the order recommended by the manufacturer (usually liquids first). Set it to the dough cycle and let it work its magic.Shape Your Rolls
Once the dough cycle is complete, take out your dough and divide it into six equal portions. Roll them into smooth little balls and place them on a lined baking tray. If they look a little rustic, don’t stress—imperfect rolls are the best kind! They have character, and that’s what makes homemade food so special.The Secret to Soft, Fluffy Rolls
Cover your dough balls with a clean tea towel and let them rise for about 20–30 minutes. This is the step that gives them that bakery-style fluffiness, so don’t rush it! While they rise, preheat your oven to 200°C (180°C fan) or 400°F.Bake
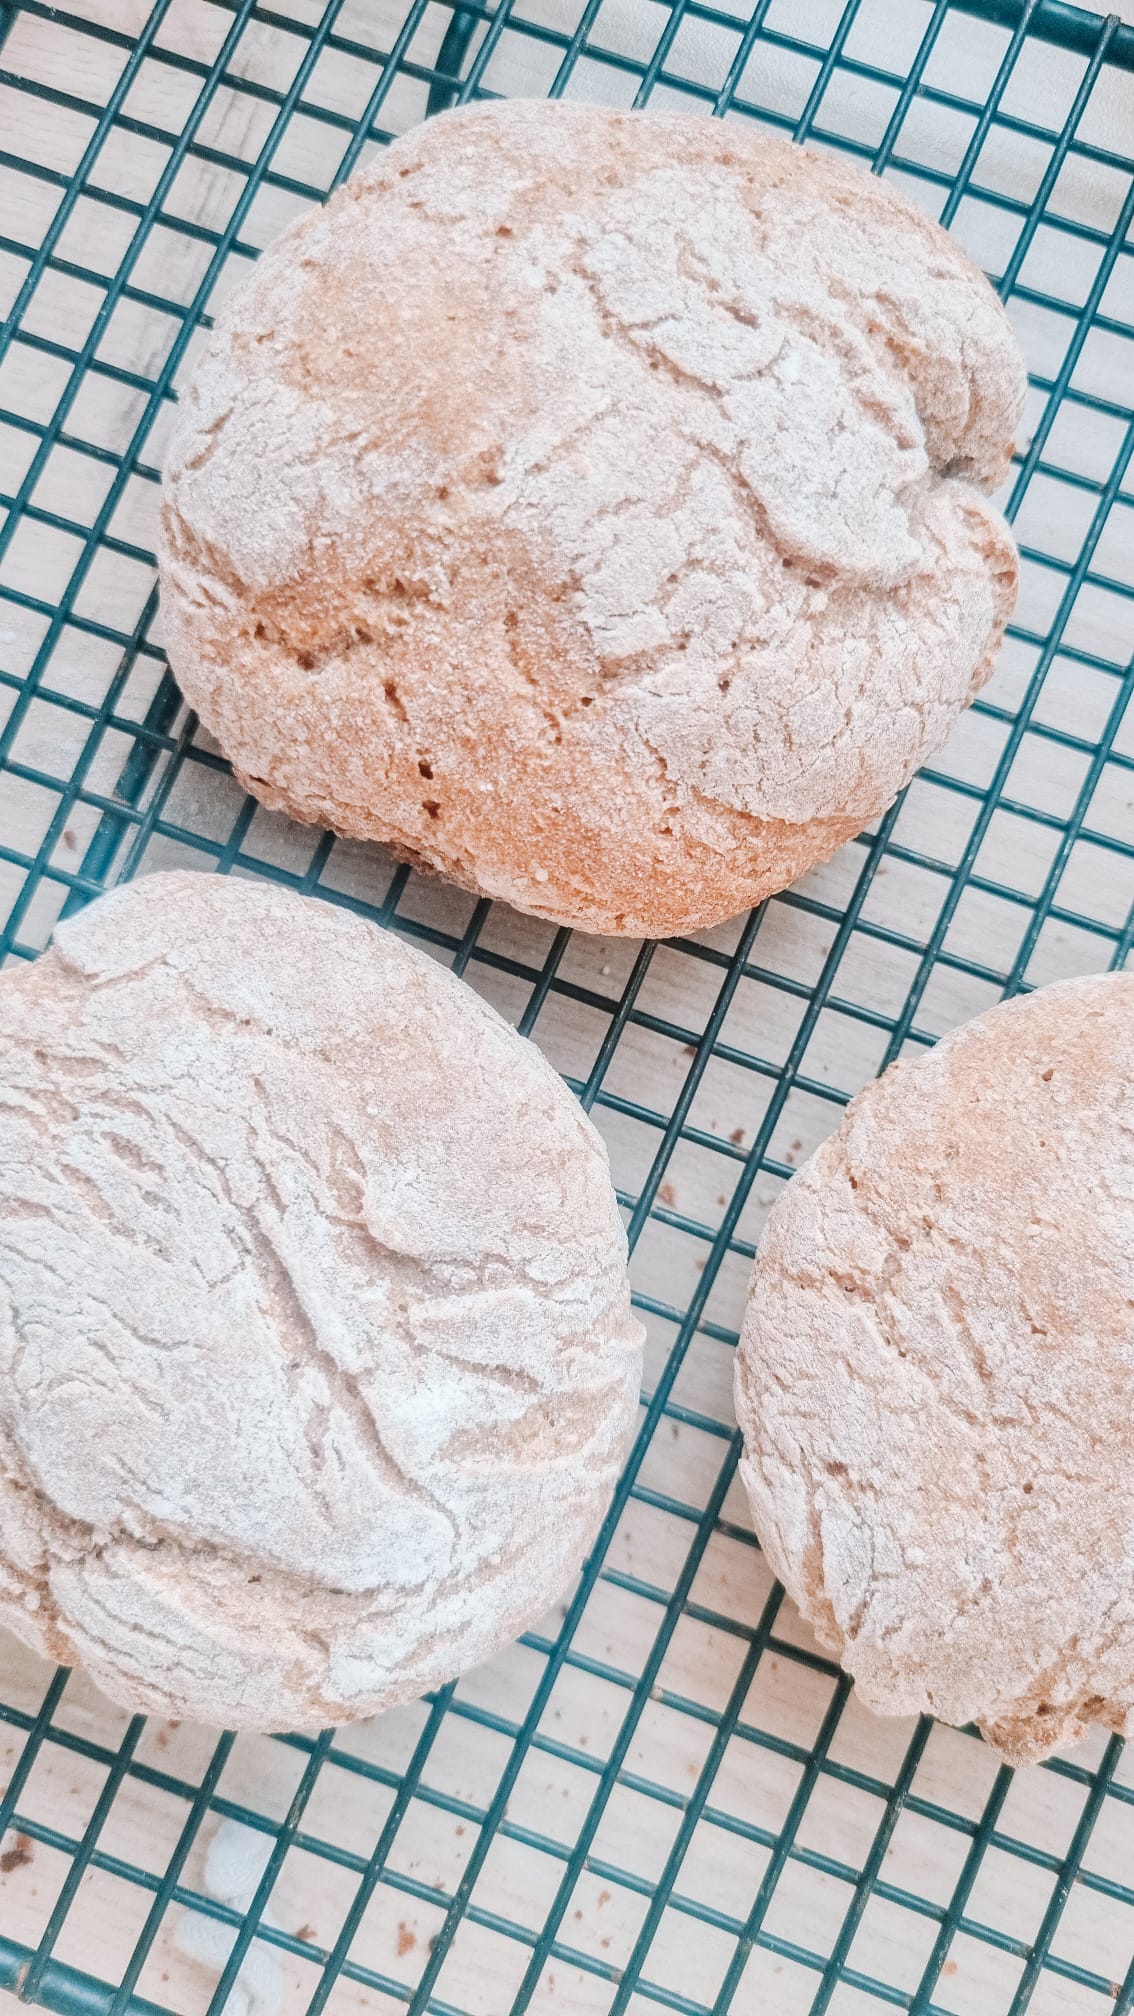
Pop your tray into the oven and bake for 12–15 minutes. You’ll know they’re done when they turn a lovely golden brown and sound hollow when tapped on the bottom. The hardest part? Waiting for them to cool before taking that first bite!Enjoy Every Bite
Whether you slather them with butter, turn them into the perfect sandwich, or pair them with a warm bowl of soup, these rolls are guaranteed to make any meal feel a little more special. Try them fresh, store them in an airtight container for a couple of days, or even freeze them for later, you’ll always have a little homemade goodness on hand.
Why This Recipe Works for Busy Days
I love recipes that fit into real life, no fussy techniques, no hours spent hovering over dough. This one is simple enough to throw together on a Sunday afternoon but still gives you that made-from-scratch joy. Plus, making your own bread means you get to skip the preservatives and additives found in store-bought versions. It’s a win-win!
Baking your own bread, even in small batches like this, is also a great way to bring a little rhythm and ritual into your week. It’s a moment to slow down, engage with your food, and embrace the process. And let’s be honest, there’s something deeply satisfying about pulling warm, golden-brown rolls out of your own oven.
Pro Tips for the Best Wholemeal Rolls
Want an extra-crispy crust? Place a small dish of water in the oven while baking to create steam. This will help give your rolls that perfect bakery-style texture.
Experiment with add-ins! Try adding a sprinkle of seeds on top before baking or mixing in some dried herbs for extra flavor.
Don’t skip the rising time. It might be tempting to rush the process, but letting the dough rest properly is the key to achieving soft, fluffy rolls.
Store them right. These rolls will stay fresh in an airtight container for about two days. If you need them to last longer, freeze them and warm them up when needed.
Let’s Keep the Slow Living Vibes Going
If you try this recipe, I’d love to hear how it turns out! Snap a picture and tag me on Instagram (@theslowlivingcollective) so I can see your beautiful, homemade creations. There’s something so magical about seeing how a simple recipe brings warmth and joy to your home.
And if you’re craving more slow, simple living inspiration, be sure to sign up for my newsletter, I send out weekly tips to help you create a life you love, one cosy moment at a time.
So go ahead, give this recipe a try, and let your kitchen fill with the aroma of freshly baked bread.